
Step-By-Step demo on Dreamscope & Photoshop
Make any landscape or portrait into a piece of art! I have been working extensively with a free program called Dreamscope online and so far I have been really pleased with the creative results! Take a look at some step-by-step instructions with screenshots so you too can see how I achieved this look!
STEP 1
Select the image you are going to work on and go to Dreamscope.com to start your free trial.
*Tip* On the HOME page you will see work that lots of other artists have done. If you like one that will suit your picture click on it to explore other work that artist may have created.
Here is a screen shot of some of my work from the day. :

See all the variety you can come up with!
STEP 2
Hit "Create Photo" to upload yours. Then "Select files to upload" to see your picture on top and the various painterly filters down below.

Select and Start Painting
STEP 3
Pick a filter to apply to your image by clicking it once and then click "Start Painting."
*Tip* If you think the colors and subject material are similar it might work with yours!

Good combos right out of Dreamscope
STEP 4
Repeat to several images with different filters until you get a good combination of techniques to compliment your photo selected. *Tip* (It may be easier to start with landscape photos to make picturesque scenes, but I love working with people, so all of my examples are primarily headshots.)
STEP 5
Don't worry, some will work and some will not. Don't give up and try different combinations until you get a few that look right.
*Tip* (Remember you will be adding back in details in Photoshop later so if you loose important facial features like eyes, you can always add them back from the original!)

Right out of Dreamscope.
READY TO GO A FEW STEPS FURTHER? Continue reading below.:
STEP 6
Take the crazy creative one and the original into Photoshop. Size them the same using "Image" then "Image Size" to adjust to your smallest resolution. Select portions you want more realistic/detailed like the face with the lasso tool with a feather of about 2 pixels. Hit Control + J so the face is on its own layer.

STEP 7:
Click and drag the face over to line up on top of the Dreamscope image or hold shift while using the Move tool and they align perfectly!
*Tip* (Lower the opacity on it so you can line it up like tracing paper.)

STEP 8:
Turn down the opacity on that layer until you get just enough detail in the eyes, nose and lips then perfect the rest of the face by clicking on Layer mask. Select a black paint brush at 30% opacity so you can reveal the Dreamscope image below it and blend the two into perfection.

STEP 9:
Take the Elliptical Marquee Tool and set it on a larger pixel size like 50 to circle the subject. Then go up to "Select" and "Inverse" then Contol + J to put that invresed selection it on its own layer.
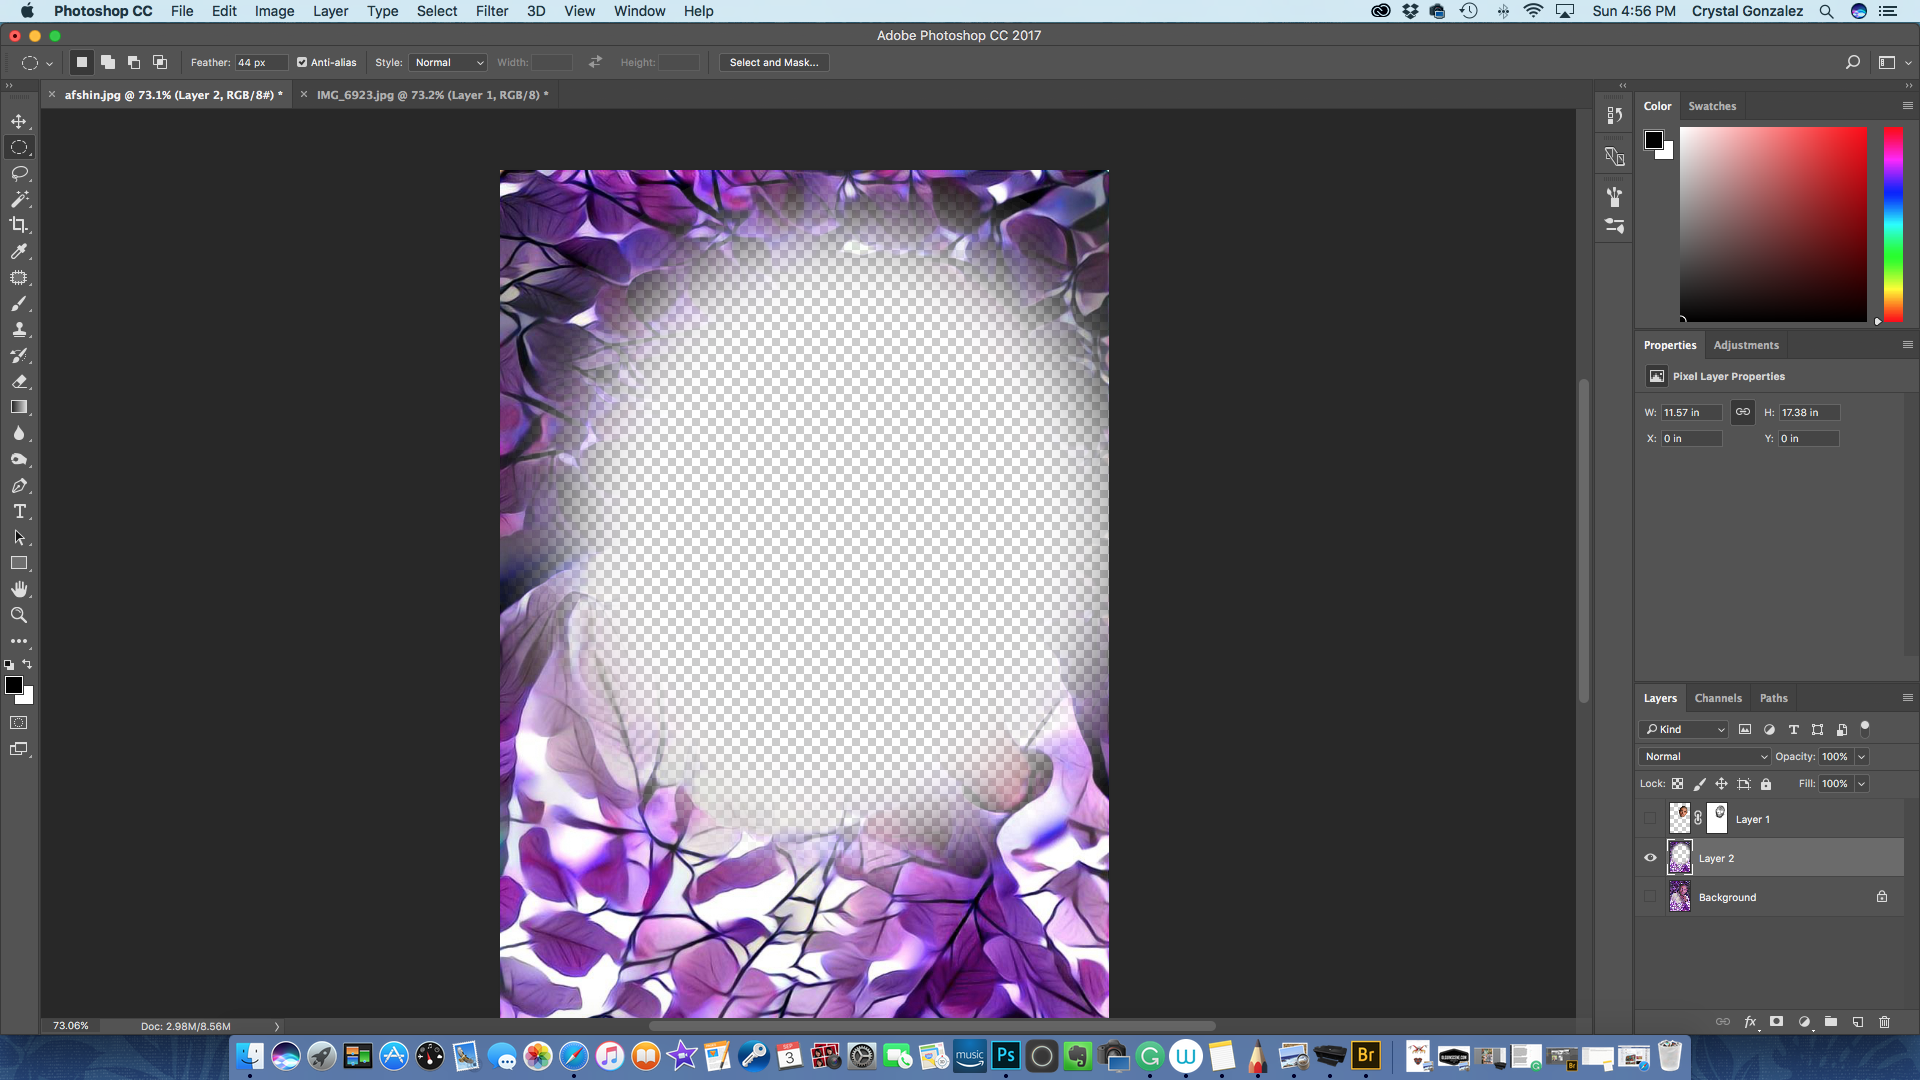
STEP 10:
Change the Hue under "Image", "Adjustments" then "Hue and Saturation."

STEP 11:
Use the Elliptical Marque Tool again then "Select" and "Inverse" to darken up the edges by using "Multiply". Then select each layer to adjust the Color, Saturation, Levels, and Contrast as your creatively see fit!

STEP 12:
Crop and save your image and pat yourself on the back for a job well done! That's one creative image that you and your client will love! Here is the finished product. :

Finished product called "Creative Thoughts" by Crystal Olguin.
Thanks for reading and I hope you make some amazing creative images of your own now! Here are some of my favorite combinations that I worked on so far! Fun, fun, fun!
-Crystal Olguin